How to Use a Hydraulic Torque Wrench: Video Demonstration
June 16, 2021
0
The video below provides a simple overview of bolting equipment setup and operation. It shows you how to use a hydraulic torque wrench using the Enerpac S3000X Square drive hydraulic torque wrench powered by the fast ZU420TB-Q pump.
Controlled bolting in an industrial setting is a critical job requiring high precision torque tools.
Important – This video provides an overview only. It is not intended to replace a manufacturer’s operator manual – Please read these carefully before using any hydraulic tools.
All of the equipment shown in the video is available from Enerpac. The items used are listed below.
Items used for the Bolting Demonstration in this video
- S3000X Square drive hydraulic torque wrench
- ZU420TB-Q Pump (a torque wrench pump from the Enerpac ZU Series).
- THQ706T Hydraulic Hose
- SRA30X Short Reaction Arm
- BSH10200 Socket
- RTE30X Reaction Tube extension
- BUS03 Back-Up Spanner
Hydraulic Torque Wrench Specifications
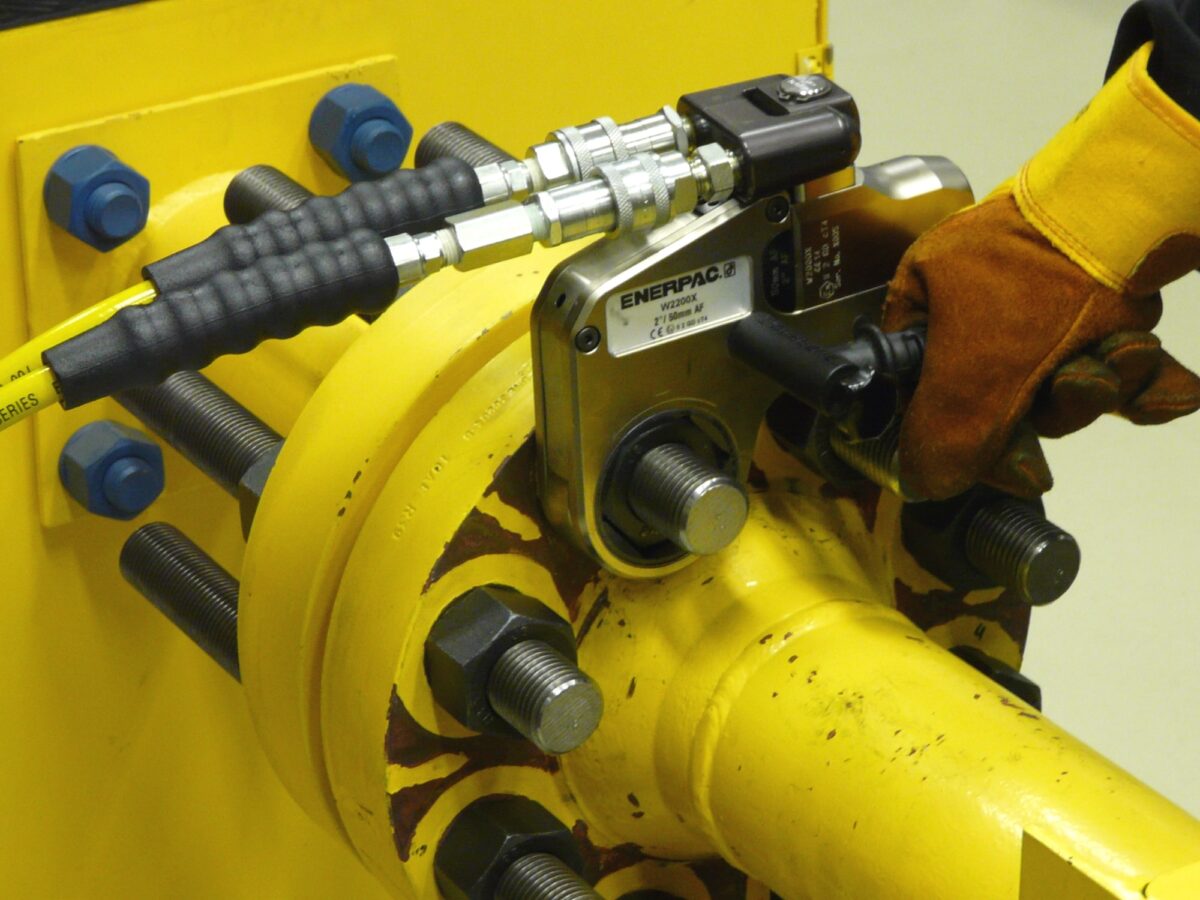
The S3000X is a ‘flagship’ square drive hydraulic torque wrench from the Enerpac range. This particular model features a 35-degree rotation angle – which is a greater amount than many standard torque wrenches resulting in faster operation.
Note that the reaction arm can be rotated through 360-degrees and locked into the right place to suit the application. Other features include a push button square drive and a positioning handle to avoid pinch points.
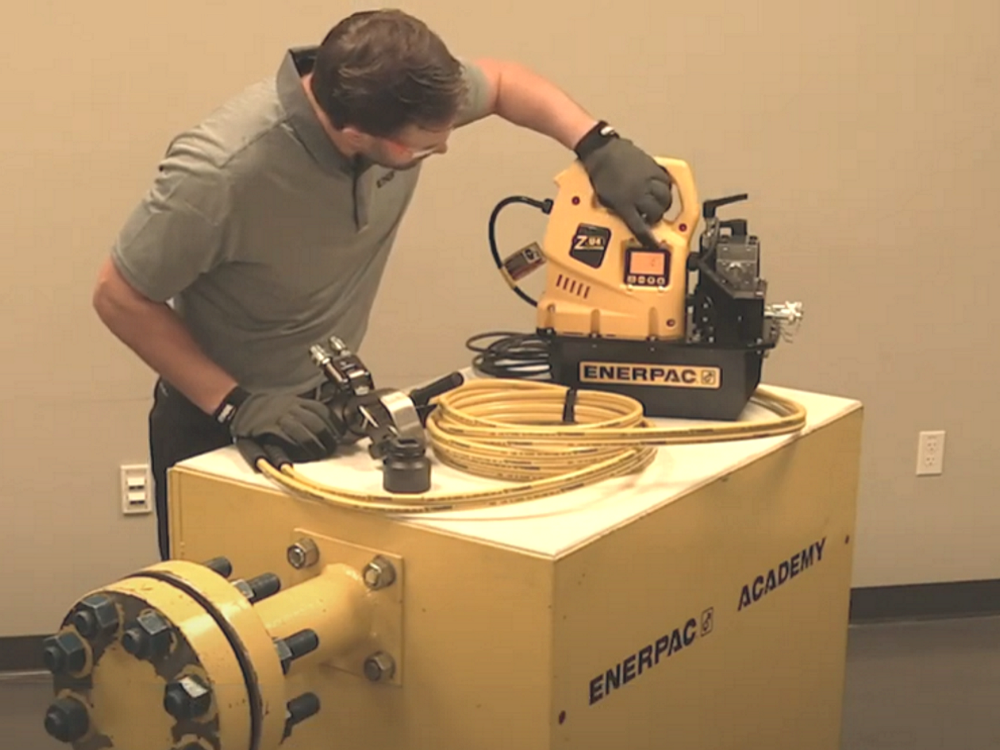
Hydraulic Pump Specifications
The pump used in this demonstration is a ZU4 Pro-Series Pump with a digital display to show pressure, torque cycle, count etc. The design also includes auto-cycle mode and pendant operation.
Each of the items used are designed to work together at 10,000 psi (700 bar). Whenever using hydraulic tools, make sure each component is rated to the desired pressure as a minimum.
How to use a Hydraulic Torque Wrench: A Step By Step Guide
- Make sure the hydraulic system is completely depressurized before you start. Check that the pressure gauge is showing zero. Relevant PPE must be worn.
- Connect the hydraulic hose to the torque wrench, noting the male and female connections at each end.
- To attach the hose to the torque wrench, hold the collar over the coupler and hand tighten.
- Next, attach the other end of the hose to the hydraulic pump and follow the same process.
- Follow the torque specifications provided by a suitably qualified engineer.
- Make sure the torque wrench is set to rotate in the required direction. If it needs changing this can be done by adjusting the position of the square drive – moving it to the opposite side of the wrench to change the direction of the turn.
- If changing this, you will also need to adjust the poisoning handle.
- Mount the industrial socket onto the torque wrench to fix it into place with the pin and ring to prevent the socket from falling off. (Note there are safety torque lock versions available as an alternative).
- Before using the pump, check there is enough hydraulic fluid by viewing the sight glass in the reservoir.
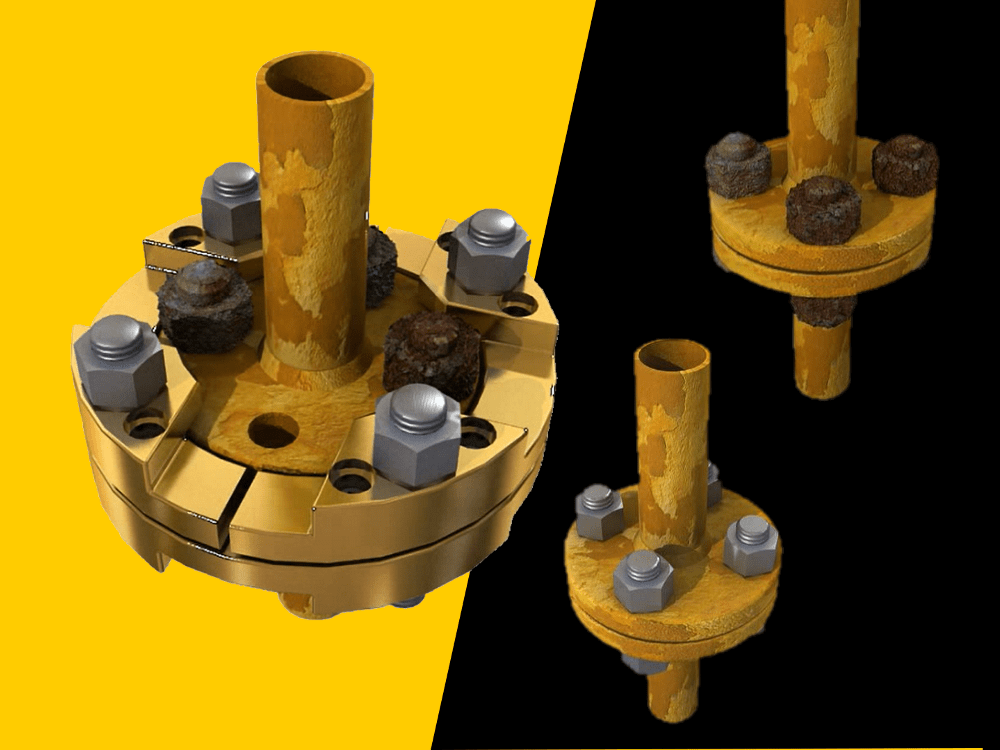
- Confirm the correct bolting sequence, including the number of ‘passes’, and the specifications to suit your application. (See our article Bolt Tightening Sequence: Why it Matters). For the purpose of this video 1800Nm was specified as the required torque.
- First Pass: 600Nm (One third of the full of specified torque – star formation).
- Second Pass: 1200Nm (Two thirds of the full specified torque – star formation).
- Third Pass: 1800Nm (Full specified torque – star formation).
- Final Pass: 1800Nm (Tighten all bolts sequentially – clockwise direction)
How to Configure the Hydraulic Pump
- On the pump, while set in manual mode, before setting the torque value, adjust the relief valve to adjust the pressure.
- Toggle through the menu options to select the desired units (Nm) – use the up and down arrows to increase or decrease the value.
- Toggle to find the wrench (in this case the S3000X). Depress the button for 2 seconds to select.
- Turn the handle on the pump clockwise until the desired pressure is displayed.
- Tighten the locking nut.
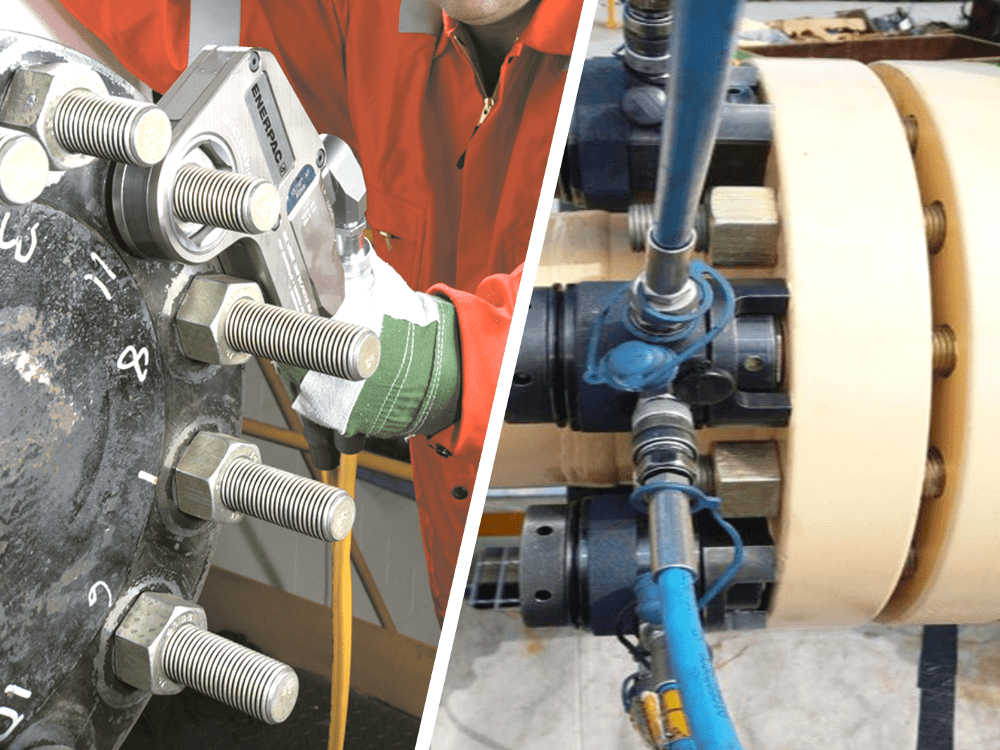
Use a Back-Up Spanner
With the torque on the pump setup you are nearly ready to fasten. But before proceeding you need to set up a back-up spanner. These are used to prevent the entire bolt and nut assembly from turning when the wrench is activated.
Many back-up spanners include two different hex sizes. The one show in this video includes a 2” hex across flats, and another 1 13/16”.
Mount the spanner onto the nut and tighten the Allen bolt with supplied Allen wrench.
Torque Wrench Operation
- Mount the torque wrench onto the fastener.
- Position the reaction arm.
- Keep/maintain hold of positioning handle.
- Important safety point: Avoid standing in line with the fastener, couplers, or flange opening.
- Press and release the advance button on the pendant until the fastener stops turning. Repeat to complete the first pass.
- Next, set the pump to 2/3 of the desired torque. For the 2nd pass, this time use auto mode – find this in the display menu and set to ‘on’.
Note that this time we are not setting the torque using the relief valve, so we need to set the valve high enough to allow the pump to reach the target torque. - Now repeat the same process to tighten the fastening, but this time because the pump is set to auto mode, keep advance button depressed to continue to torque until the fastener stops turning.
- When the second pass is complete, set the pump to the full required torque value, and follow the same process to complete the third pass.
- Next, make the final pass, but this time working sequentially in a clockwise direction to tighten each fastening.
How to Break out or Loosen a Fastening
Now we have completed the flange fastenings we will show you how to ‘break out’, (loosen).
Continue using auto mode. But please note that the torque value may need to be 2.5 x higher or more.
If the torque wrench was last configured for tightening, you will need to reverse the position of the square drive, the reaction arm, and also adjust the handle position.
Mount the torque wrench onto the fastener and proceed.
Special Reaction Arms
Sometimes the reaction point may be positioned either too close or too far away for a standard reaction arm to be used. For these situations, special reaction arms are available that are short or extended, or you can use reaction tube extensions.
Note that there may be a small reduction in torque as compared with standard reaction arms.
For more information refer to the manufacturer’s operator manual or contact Enerpac.