Bolt Tightening Sequence: Why it Matters
December 17, 2020
0
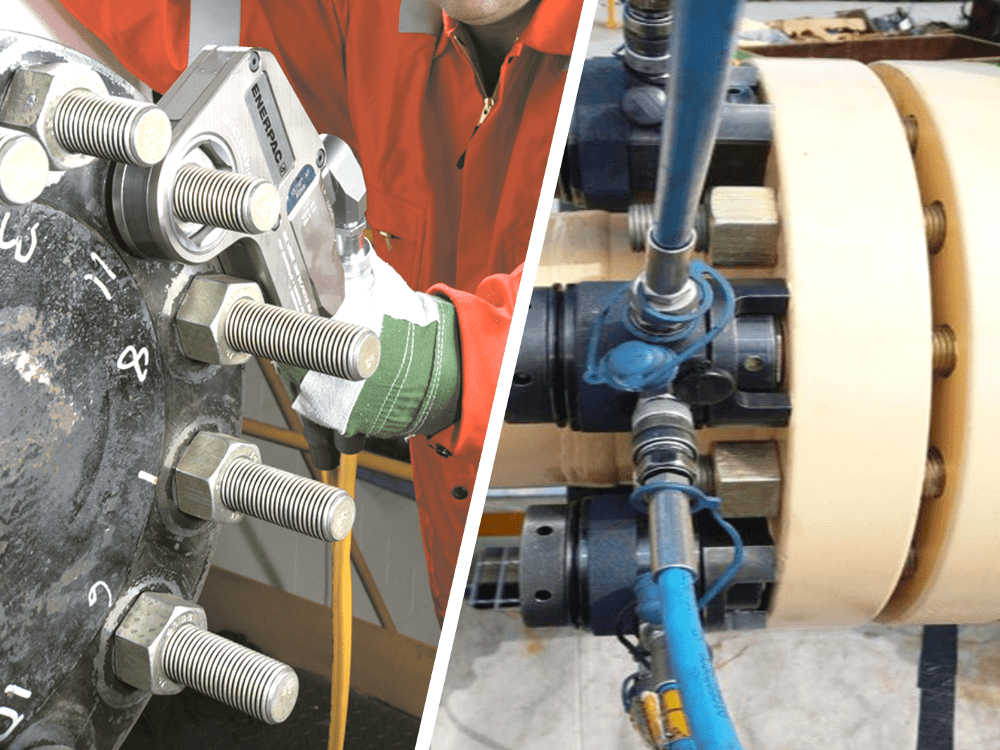
There are many different things that determine whether a new flange connection will be secure and leak-free. One of the most important is the bolt tightening sequence.
To a new bolting apprentice, this may seem straightforward enough. But simply applying full torque to your first bolt and then moving onto the adjacent one is the wrong approach! The order in which you tighten the bolts and the load applied has a huge effect on the integrity of the joint.
Bolt Tightening Sequence: Why it Matters
To complete a flange joint securely, it is essential to control the stress variation in the flange joint components. In the case of the gasket, this needs to be compressed evenly across the flange face. If you were to tighten adjacent bolts when those opposite remain loose the result will be uneven compression and possible damage to the gasket.
The flanges must be brought together slowly and be parallel. In practice, this means starting by using the correct bolt tightening pattern at partial load, and then carrying out several more bolt passes, increasing the load each time.
Bolt Tightening Patterns
The ASME (American Society of Mechanical Engineers) PCC-1-2019 standard is the ‘go-to’ document for bolting standards. This gives multiple options for tightening sequences which if followed correctly will help to ensure a leak free flange joint. Showing all patterns for each flange size could be covered in great detail in a separate article. But to act as an overview, some examples are as described below.
Legacy Pattern and Modified Legacy Bolting Patterns
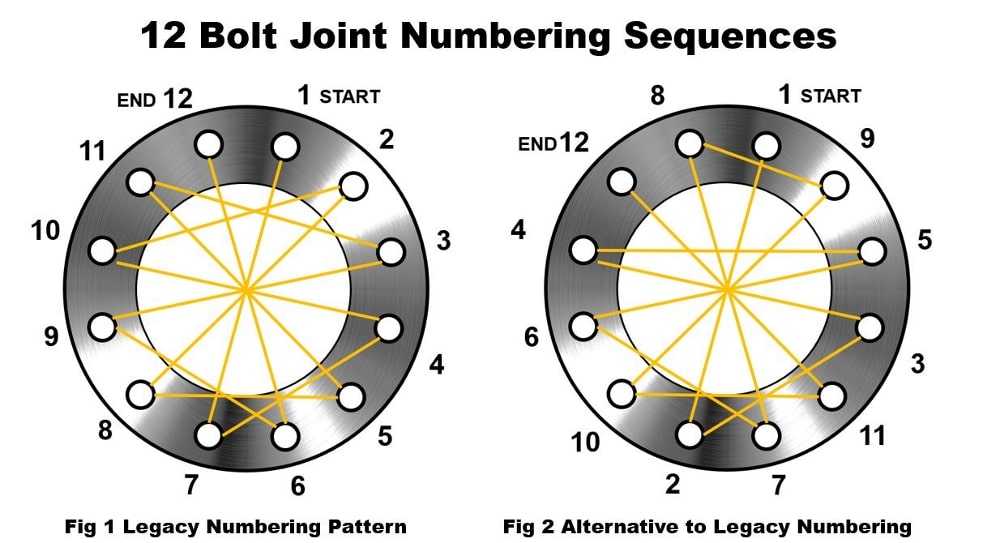
Before they are tightened, bolts can be numbered sequentially (1,2,3,4 etc) in a clockwise direction around the flange (fig 1 below). Or they can be numbered by the order of tightening (fig 2 below). Both methods have their advantages – but it is important that the one chosen is agreed in pre-job briefs and that the tightening crews are suitably trained.
Legacy Numbering Sequence
In following the example shown in fig 1, bolt numbering can be carried out easily (clockwise 1,2,3,4 etc), but the technician who does the tightening needs to be experienced enough to follow the correct sequence (e.g. 1,7,4,10).
Alternative to Legacy Numbering Sequence
In fig 2 the situation is the reverse. Numbering should be done by a technician with the relevant experience. The crew members who do the tightening then simply follow the right numerical sequence (bolts 1,2,3,4 etc).
48-Bolt Flange Bolt Grouping
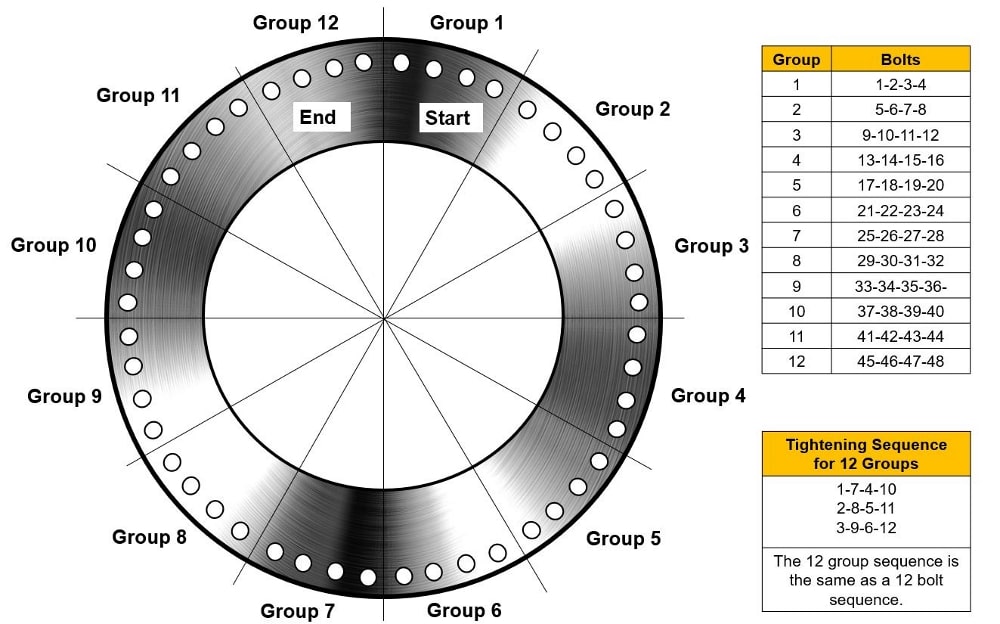
In the case of very large flanges such as on 48-bolt flanges the process can be different. Here, groups of 4 adjacent bolts can be treated as ‘1 bolt’, resulting in 12 groups. For example, tightening bolts 1,2,3,4 before moving onto group 7 – (Similar procedure to what you would do when tightening a 12-bolt flange). ASME advise that potential gasket damage or flange misalignment should be considered when bolts are grouped.
Alternative Assembly Patterns
There are other acceptable patterns which have been developed throughout years. Each has different advantages and care should be taken when selecting the right approach for your application. The right choice will depend upon the industry, gasket used and the manpower and equipment available to complete the job. Refer to ASME PCC-1 2019 for diagrams.
Alternative Assembly Pattern #1 Modified Legacy
Uses the same pattern as the legacy method but allows fewer passes and less overall effort. This is achieved because not every bolt goes through the different torque load amounts.
Alternative Assembly Pattern #2 Quadrant Pattern
Simpler to follow than the legacy pattern. This pattern follows a square quadrant sequence and is used on flanges with 16 bolts or more. The advantage of this is after 4 bolts are completed it is always the next loose bolt in any given quadrant that will always be the next to be tightened.
Alternative Assembly Pattern #3 Circular Pattern
Using this method, the same four bolts in a cross formation are tightened to bring the joint into alignment. Following this all bolts are tightened using a circular pattern.
Alternative Assembly Pattern #4 Simultaneous Multi-bolt Pattern (4 tools)
Allows 4 tools to be used, always maintaining even spacing around the flange. Brings parallel closure in less time than using a single tool in a cross pattern. Multi-bolt tightening works best on large flanges where hydraulic tools are connected to a common pressure source.
Alternative Assembly Pattern #5 Simultaneous Multi-bolt tightening with circular pattern (2 tools)
A pattern for use with 2 hydraulic tools simultaneously. Used in the chemical industry for thin flanges and soft gaskets.
Summary
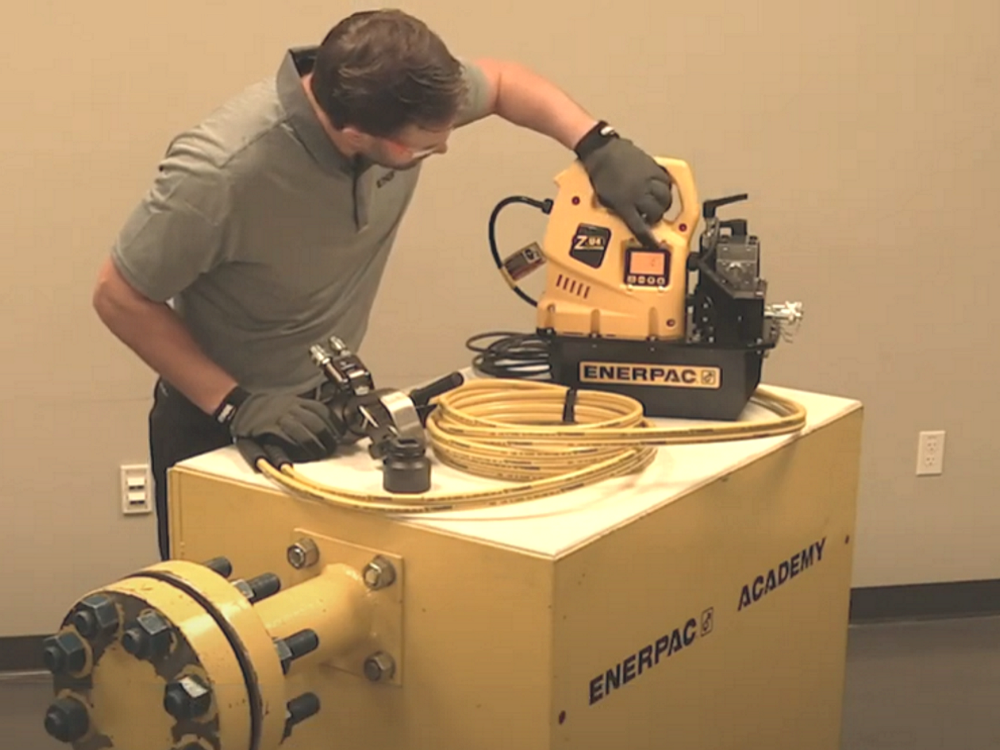
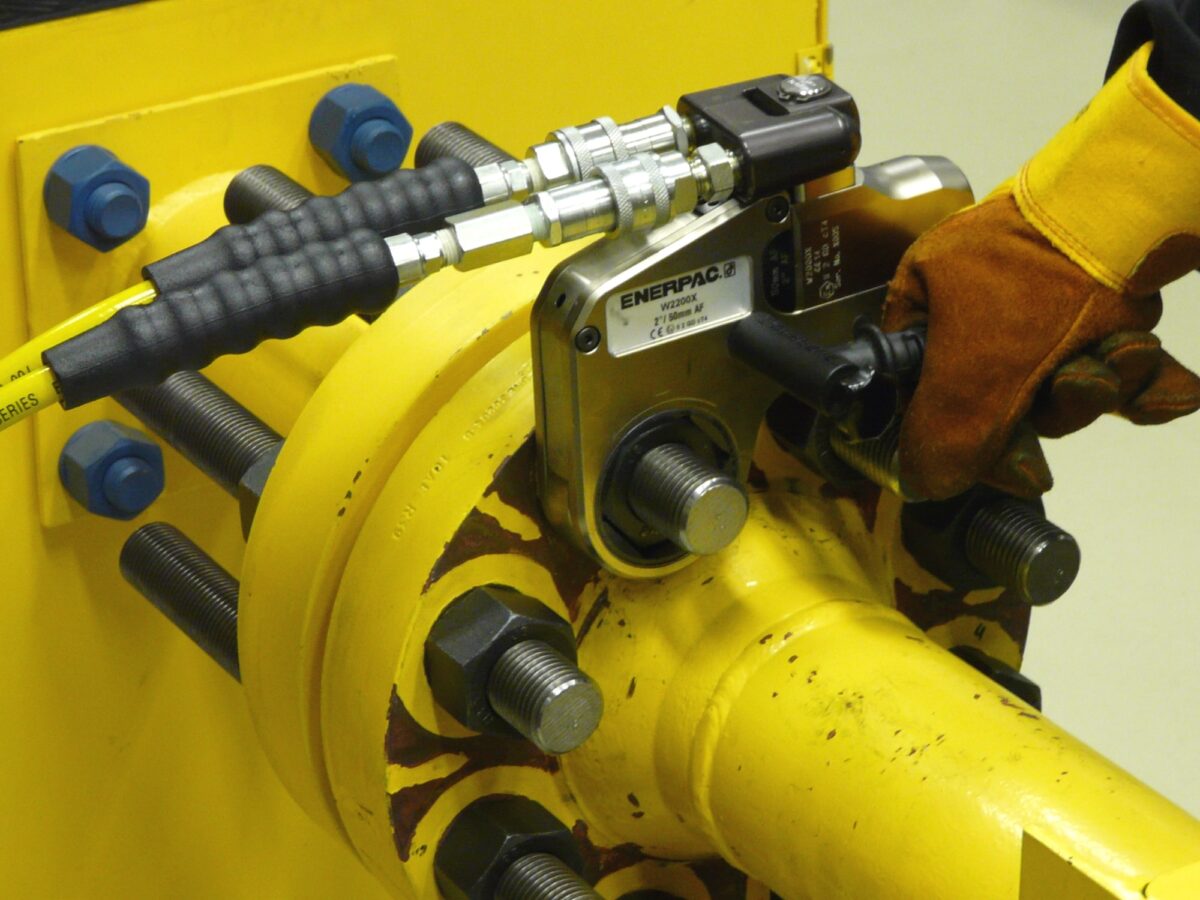
To a novice, this all may seem more complex and overwhelming. But by following the correct procedures and taking the extra time will help avoid potentially dangerous and time-consuming maintenance in the future. Using a well-designed hydraulic torque wrench will make the process efficient and trouble free. These are available from Enerpac as square drive hydraulic torque wrenches and low-profile hydraulic torque wrenches.
Disclaimer
This article is intended to provide a basic overview only. Please refer ASME PCC-1 2019 to determine the correct procedure for your particular application.
It is important to note that the bolting sequence is just one of the many important things to get right to ensure joint integrity. There are many other factors to consider such as gasket selection, bolt lubrication, bolt selection, and the condition of the flange sealing surface.
Be aware that flanges can be damaged during transport and installation, but these can be machined on-site to ASME specifications using a flange facing machine.
