Flange Spreading Tools and How They Work

November 5, 2018
0
Flange spreading tools – (sometimes referred to as flange splitters or flange separators), are a useful addition to the on-site engineer’s arsenal of flange maintenance tools. These industrial tools are available in a range of configurations, and as the name suggests they’re used to assist in the separation of pipe flange joints. Typical projects include pipeline construction, commissioning, routine maintenance or when valves or pumps need to be replaced.
Types of flange spreader
Three common types include the expanding wedge type, expanding collets, and Mini-gap flange spreaders that use a fixed size wedge. The expanding wedge type are available with either a hydraulic cylinder, or using a mechanically operated mechanism. The expanding collet and mini-gap types use mechanically operated mechanisms only.
How flange spreaders work
The information provided here is just to provide a basic insight into how the products are used. As you might expect, only personnel deemed competent in the use of hydraulic equipment should use these tools. Manufacturer’s operating instructions should be followed very closely.
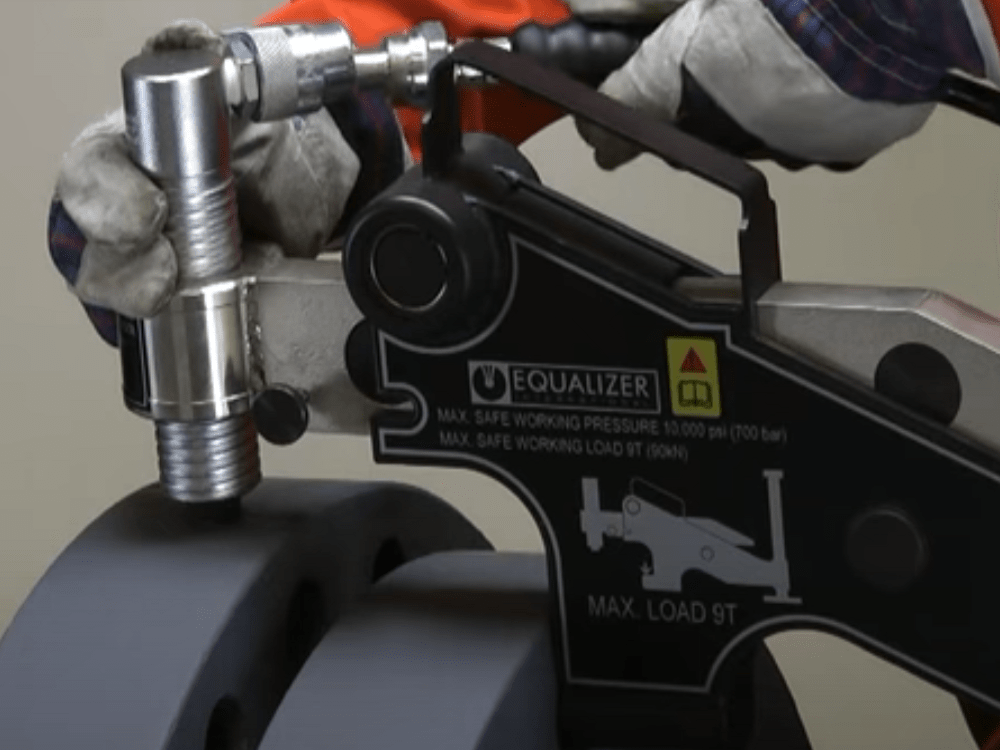
Using the wedge type of flange spreader
See the following video created by Equalizer International.
Video ©Equalizer. Mirage has no connection with may adverts which may appear during the video.
Before attaching the flange spreader, ensure at least two flange bolt remain in place with nuts loosened sufficiently to enable flange work to be carried out. Leaving these in place will help to reduce unwanted lateral flange movement during flange spreading and prevent existing gaskets from dropping below.
- Determine the most appropriate positioning of the tools around the joint. A minimum of 2 flange spreaders should always be used. These are prevented from dropping by using lanyards provided.
- To determine which flange spreader is needed, measure the flange access gap.
- Place the spreader tool into the access gap, with the full width of the selected step fully inserted up to the heel.
- Spread the flanges apart by actuating the tool.
- Once the joint has been opened to the desired distance Safety Blocks can be inserted into the flange joint.
- Ensure the full width of the selected Safety Block step is fully inserted before gradually retracting the tool until the flange load has been applied to them.
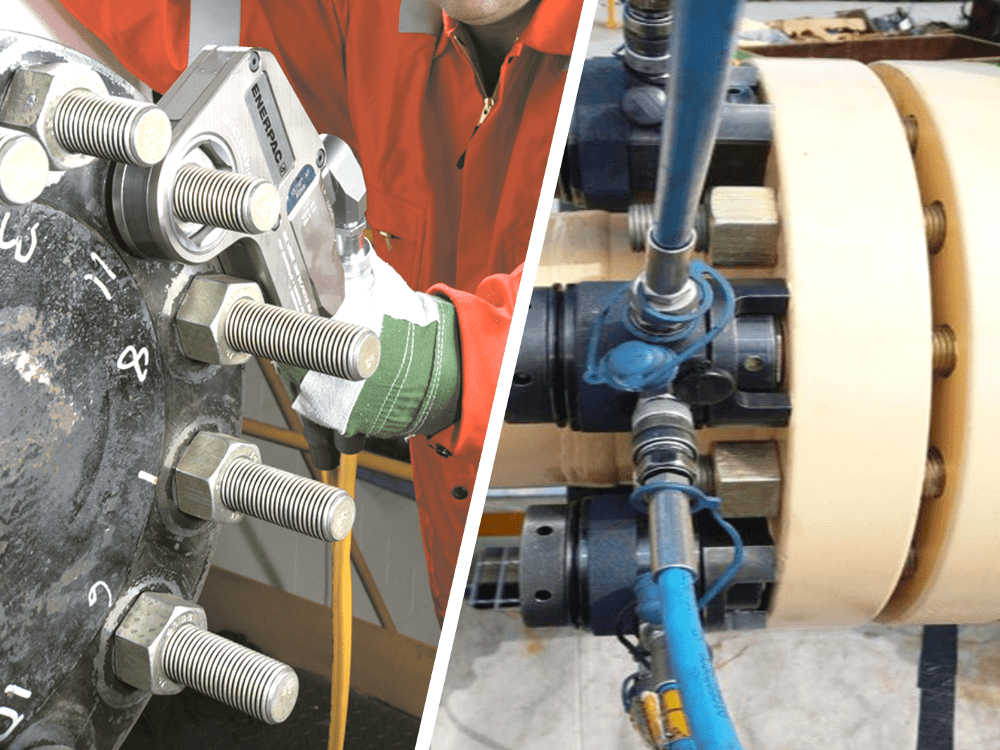
Using an expanding collet type of flange spreader
See the following video created by Equalizer International.
Video ©Equalizer. Mirage has no connection with may adverts which may appear during the video.
In situations when the flange joint has no access gap between the flanges, or if you’re concerned about damaging the flange faces, then a flange spreading tool using a collet is one solution. This type of tool uses two flange bolt holes for securing the spreader.
- Measure bolt holes to determine collet size required. Selecting the correct collet size is important. Using an under size collet risks the collet holder pulling through the hole. An oversize collet has the potential to become jammed.
- Insert the correct collet into the tools. It’s worth noting that collets are classed as consumables and need regular replacement.
- As with the wedge type of spreader, the tools should be used in pairs and two bolts fixed loosely in place.
- Two halves of the tool, are inserted into the bolt holes. Care should be taken to ensure that collets are engaged with just one flange. When correctly engaged the collets can be tightened.
- Next, the cantilever and actuator are swung and locked into position.
- The actuator is tensioned using a torque wrench.
- When flanges are separated the Safety blocks can be inserted.
Mini-gap flange spreader
See the following video created by EqualizerInternational.
Video ©Equalizer. Mirage has no connection with may adverts which may appear during the video.
The Equalizer product is used on smaller, lower pressure flange joints with a minimum access gap of 2.0mm (0.08″).
- Choose the suitable configuration for the size and class of flange joint you wish to separate.
- As with other models, it is strongly recommended that two tools are used on the flange joint positioned 180 degrees apart.
- The spreading bars are designed to only fit the correct flange specification. No two spreading bars can fit the same stud hole.
- Place the tool over the flange joint and align with the desired stud hole.
- Engage the spreading bar through the leg of the tool and the flange stud hole.
- Take care to ensure the spreading bar is correctly fitted through the second leg of the tool. Check the wedge is positioned in the gap between the flange faces.
- Turn each opposing tool a half turn at a time until the desired gap is achieved. Care must be taken to ensure the force is applied evenly.
If you are interested in more details of flange spreading tools visit the Enerpac website.
For more flange maintenance tools including flange facing machines – visit the Mirage website.
Do you need equipment for an on-site machining project? please click here to get in touch with your regional contact